Thief Walk Through Chapter 1 With Loot Locations
There are 4 thieving challenges in each chapter here are the
ones chapter 1:
You can only get credit for one at a time, so if you want to unlock all you have to replay the chapter, when you can. Even if you complete 2 you will only get credit for one.
Remain Undetected = 125g (as long as guards don't spot you,
you're good)
Extinguish 9 Flames =100g (Candles and open fires count toward
this)
Headshot 4 threats =75g (Using broadhead arrows to shoot guards)
(I
recommend saving before attempting a headshot because they can be very
easy to miss)
Lift All Loot Items =150g (Find all the loot items)
There are 3 different
types of play styles when you go through the levels choose what you want to
play as.
Ghost:
This play style is
awarded to thieves who leave no trace of their presence. In other words you have to slip through areas
undetected, you can't harm guards,
don't get detected, and not giving into temptation (avoiding pick pocketing and putting out flames)
Opportunist:
This
play style is for thieves who want to gain money and gain the upper hand against enemies. You have to rob guards
without harming them and extinguish
lights. You can also exploit the environment, for example - knocking down hanging objects, breaking
vases, knocking things over. You
have to be cunning for this play style.
Predator:
This
is probably the easiest one to achieve but is also the riskiest. You can take down guards in actual combat but that can
be incredibly dangerous. Or do areal
takedowns, or knock them out from behind. You can also do headshots, if you are wanting a one
shot though it needs to be perfectly lined
up other wise it will just stun them, that will allow you the advantage to run up and take them though. This can be
very costly on arrows if you choose
to do that.
________________________________________________________________________
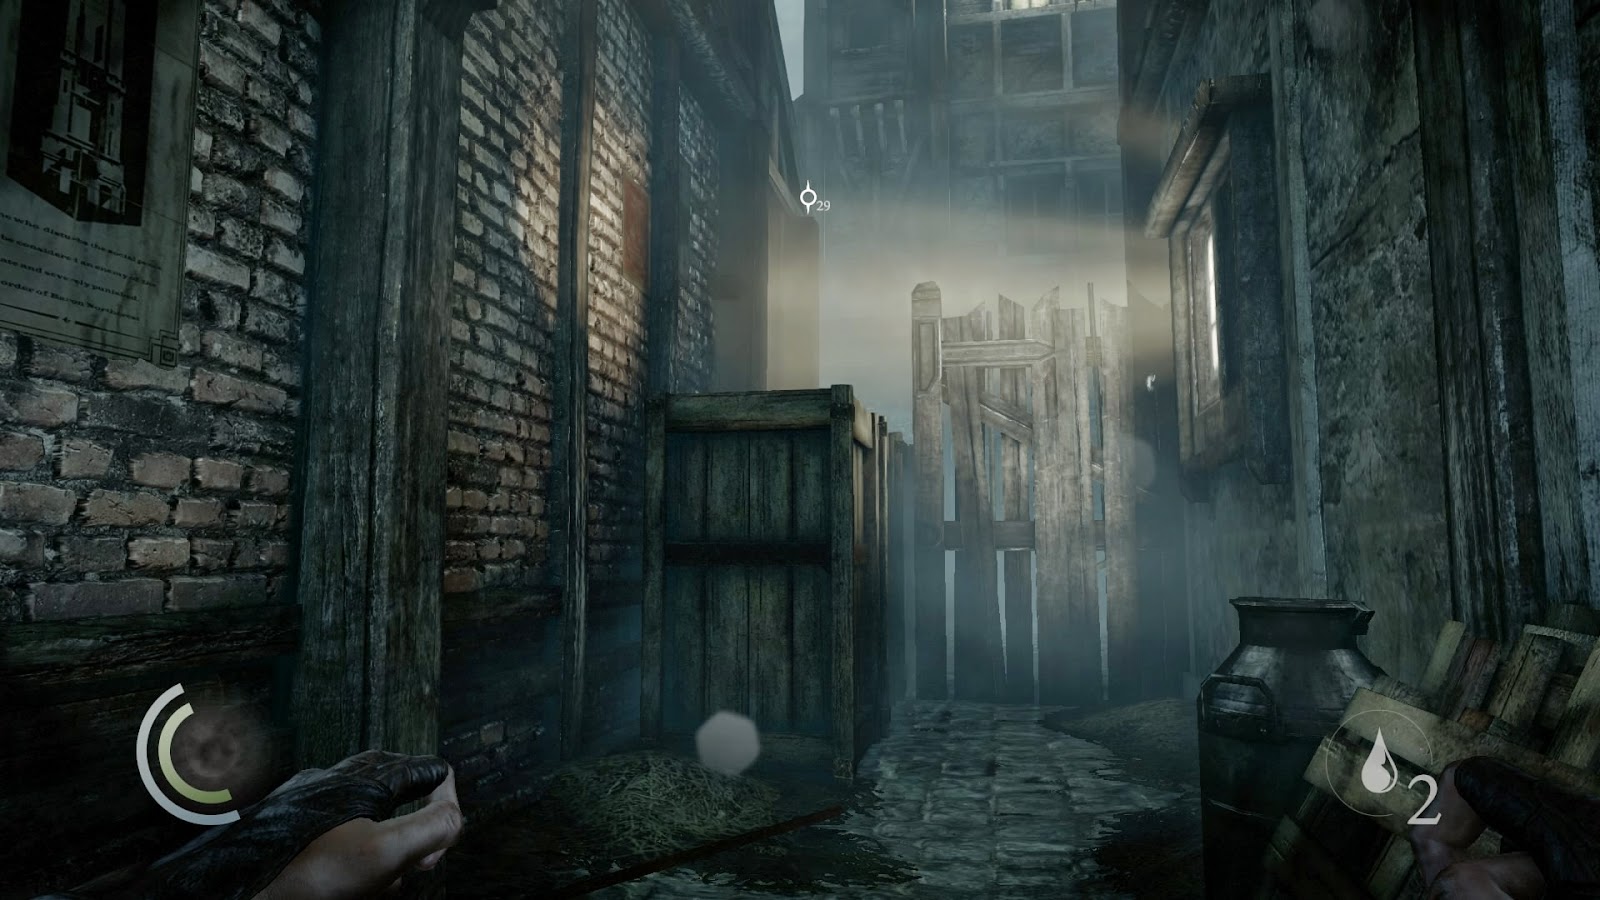
Stonemarket Enclosure
Although you can hear them yelling don't worry the watch can't
reach you so take your time in this first section. If you are having trouble
finding items you can use your focus ability which will highlight points of
interest or loot items. You can also use cabinets to hide from guards as long
as they didn't spot you enter them. Another value to these cabinets is auto
saving your game.
Loot:
1) 4g Flask =On the railing
2) 3g Gear =On
top of the rooftop hideout on the pipe
Newspaper- Benefits of Strict
Curfew = To the left of the cabinet on top of the suitcase
Total 2
(Make sure you grab these two pieces of loot before moving
on because after you do you wont be able to come back this area)
Now use the claw to climb up the ladder at the bottom of the
stairs.

There is a health packet right when you climb up.
After grabbing it climb up again.
Stonemarket Traitorsgate
Loot
3) 3g Gear =Before jumping down off the roof go
left its on the barrel
4) 12g Coin Purse =Inside the house sitting on
the couch
5-6)1g Coin =On the ground behind the guard standing
Total 4
Water Arrows pouch =On the table in the house
Document - Lockdown Regulations -
Can be pick pocked from the patrolling guard.
Jump down onto the roof. You can now choose to either avoid
the guards by using the beams to get across the street and drop down into the
alley. But doing this you will miss some valuable loot.

There is only two guards so you shouldn't have any trouble avoiding them.
The other option is two jump down off the roof and wait for the guards to walk by hiding in the shadows. Then dash across the road and into the house. Grabbing the loot, then quickly dash back across the road
Be sure to pick pocket the patrolling guard twice, once for the note and the other time for a 7g coin purse.
Collectable = Unique Serendi Stone Circle = Amethyst circle
Its Sitting behind the barrel by the wagon across the street from the guard at the far end of the street. You will have to take a chance and time it right because the area is well lit. So grab it quick and dash back.


After grabbing the two coins head to the next area
Stonemarket Backway
There is three ways to get to this area
1) One is jumping over the fence after picking up the two coins

2) Two is using the beams to get to the alley

3) Three is jumping up and over the crates in the alley to the left of the house
Loot
7) 3g Gear =On the ledge above the guard
8) 4g Pen =Sitting on the ground before the
iron gate
9) 6g Candlestick =Close the iron gate its
behind it
3 Total
Guard standing by the table = loot him for a 3g Coin Purse

2 Broadhead arrow pouch sitting on
the table where the guard is
2 Water arrow pouch = climb the wall
to the right of the crates and its sitting on the other side
(Make sure you have
picked up loot 1-7 after Garret mentions how quite the claw is you won't be able
to go back and pick anything else up)
After looting the guard sneak past him and climb the wall with
the claw jumping over the ledge and dropping down. Then unlock the gate and go
through. After picking up the food packet on the
ground squeeze through the wooden planks.
Stonemarket Stonecutters Court

4 Options to get into the jewelers from here
1) The main door
entrance- Its sitting in the middle of the street with a locked door. If you
choose this way you want to be careful because the guards are patrolling and it
is well lit. There is also a guard patrolling just inside the door. So this
option is a little risky


3) Using your claw
to climb the wall- Off the right side of the shop there is a place where you
can climb, it will bring you right inside the building via the rafters in the
main part of the shop.

4) Rope behind
the shop- There is a rope that you can use to climb up and into the first floor
of the building

Guards-
The two guards patrolling walk together but they dont have
any loot on them
The guard located by the gate has two coin purse on him so
be sure to loot him twice
Loot
10) 1g Coin =Sitting on a crate in the middle of the
street
11) 2g Knife =Sitting on the table at the top of the
stairs by the guard standing at the gate
2 Total
2 Broad head arrow =Locked chest sitting on a
barrel behind the coin
1 Water Arrow =Locked chest sitting on a barrel behind the
coin
Stonecutters Court East
Loot
12) 1g Coin =Climb up on to the small building then
jump across its sitting in a nest
13) 1g Coin =Jump down from the other coin its on
the ground to the right
2 Total
2 Broadhead arrow Pouch sitting on
top of two crates
Stonemarket Underpass
There is a couple of beggars here but no guards
There is nothing in the alley way itself everything will be
in the storage room at the back of the alley.
Loot-
14) 7g Coin Purse =Its well hidden
- after entering the storage room close the door and its
directly behind it
1 Total
Food Pouch - In the storage room
sitting on the shelves
Newspaper - Clock Tower Stops Again
- Sitting on the ground under the food pouch
After collecting the 3 things in this room you can use the
duct work in the back to crawl through to the next area.
Stonecutters Court West
There are 3 ways you can reach this area
1) Through the
duct work in the storage room that you find taking the underpass
2) Sneaking
around the guard by the gate and going down the stairs. That will take you to a
locked iron gate that you will have to unlock.
3) Climbing the
wall to the left of the jewelers be careful of the patrolling guards if you
take this way.
There is no loot in this area so enjoy some stress free
time.
(I used the Cellar
entrance so that's where I'm starting from)
Jewelers Cellar
There are three
candles to put out in this room. The candles closest to him he will
relight after you put them out so use that time to loot him.
Loot
15) 3g Inkwell =On the
Desk
16) 3g Letter Opener =Be very careful with
this one, be quick or the jeweler will spot you
-its in the desk bottom left side
drawer
17) 2g Cup =On the table
18) 8g Bracelet =On the table
19) 5g Pile of coins =On the shelves
5 Total
Looting Lygrove twice will give you
12g coin purse and a 15g coin purse

Collectable - Lygrove's Jeweled Mask
After collecting all the loot and reading the letter you got
from his desk go over to the painting and find the switch to reveal the safe, Carefully
unlock it and grab the mask.
Now head up the stairs to the first floor
Jewelers First Floor
After coming up the stairs you will be in a small hallway
there is a button to turn off the light at the end of it be sure you do that
when the guard in the other room isn't in the doorway or it will cause him to
get suspicious.
Loot in this hall
20) 6g Candlestick =On shelves
21) 3g Letter Opener =On Shelves
22) 6g Candlestick =In Cupboard
23) 3g Inkwell =In
Cupboard
4 Total
With the main store room you are going to have to be quick
when grabbing things. You can distract the guard by luring him into another
room while you turn off the light giving you a little bit of an advantage but
be careful not to wake the guard sleeping in the far room. You can also just
follow him while he patrols, the only times he turns is when he is looking at
the picture opposite of the main door and looking at the jewelry cases at
either end of the room. Giving you time to loot.
Loot In Main Store Room
Be sure and loot the guard himself
(Everything below you will get from the display cases, desk,
shelf and breaking open the cash register)
24) 7g Brooch
25) 15g necklace
26) 8g Bracelet
27) 14g Ring
28) 50g Necklace
29) 25g Earings
30) 20g pile of coins
31) 1g coin (On floor by desk)
32) 5g Pile of Coins
33) 12g Earings
34) 8g Bracelet
35) 7g Brooch
36) 6g Ring
37) 15g necklace
38) 7g Brooch
(Don't forget the display drawers under the curtains as
well)
39) 15g Necklace
40) 8g Necklace
41) 8g Bracelet
42) 12g Earrings
19 Total
Collectable - Jeweled Mask - in
center drawer on left in the display windows
Now make your way into the room with the sleeping guard, you
will want to move very slow so you don't wake him.
There is one
candle to put out in this room
43) 3g Inkwell = Using the
claw climb up onto the beams in the main store room then use
the beams to get into the other
room, The inkwell is sitting in the corner on a crate.
44) 3g Inkwell = In desk
45) 5g Pile of Coins
46) 6g Candlestick = In Cupboard
47) 2g Cup = Next to sleeping guard
48) 3g Letter opener = On shelves
49) 1g coin = On shelves
50) 20g Pile of coins =In safe
8 Total
Unlock the safe behind the guard

Collectable - Sootback Bracelet
- In the safe behind the guard
Now that you have gotten everything go ahead and head
upstairs
Jewelers Second Floor
You will want to be careful there is another sleeping guard
sitting in the chair as well as a bird sitting on the table by the door so move
slowly. The jewelers wife will also come out of the back room across the hall
and into the sitting room.

There is one candle to put out on this floor.
Loot
51) 2g Cup =On
the table next to the guard
52) 2g Cup =Sitting
on dining table
food pouch on dining table
(In the bedroom across from the bird)
53) 2g Cup
54) 12g Earrings
Newspaper - Who Watches the Watch
Hounds
(On the left hand side of the sitting room)
55) 6g Cup =
Table by jewelers wife you can grab it from behind
56) 5g Pile of coins = Drawer behind the wife on the left side, be quick
57) 5g Pile of coins = On the desk
58) 3g Letter opener = On the desk
(In the bathroom at the end of the hall)
59) 4g Hairbrush
(Right hand side of the sitting room)
60) 2g Cup =On the table
Before you jump out the window make sure you have all 60 pieces
of loot because after you jump out you can't come back and there isn't any more
loot in the rest of the level.
Jump out the window and grab the Newspaper
- Lockdown! - It sitting to the right
At the end of the alley way pry open the window into Stonemarket
Townhouse
There is one
candle to put out in this room
After exiting the house dash past the guards and follow the
path till you can climb up using your claw then jump onto the roof.
CHAPTER ONE COMPLETE


